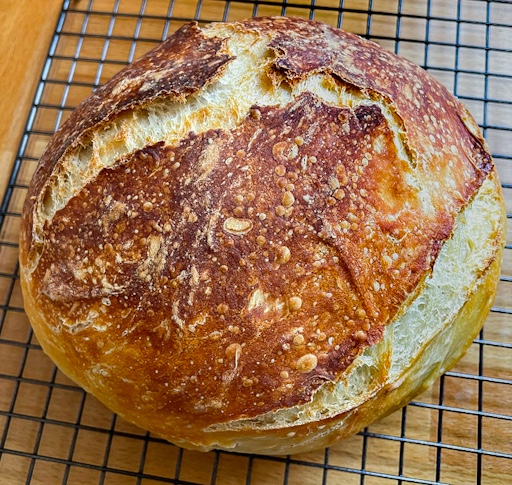
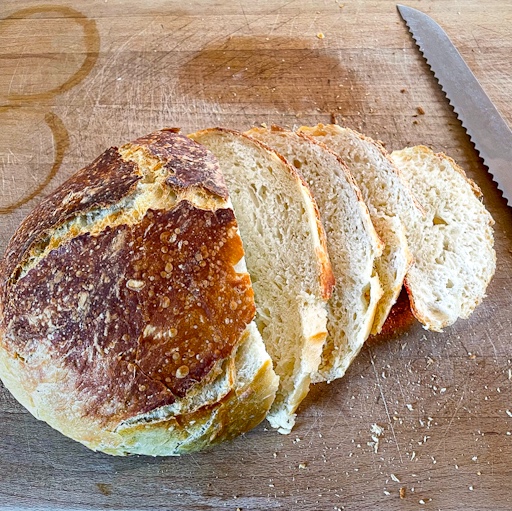
Homemade White Bread
I must confess that making bread has been a fear of mine. I never seem to make yeast work for me. I’ve made bread in my bread machine, successfully, I might add. Time to step up my game. I went looking for a simple recipe that a child can make. Found one and here it is.
Ingredients
- 3 cups of all purpose flour (I use unbleached) a little more for your counter
- 2 tsp of salt
- 1/4 tsp of instant or rapid-rise yeast
- 1 cup plus 2 tbsp of warm water (120-130 degrees Fahrenheit or 50-55 Celsius)
- 1 tbsp white vinegar
- vegetable oil spray
Directions
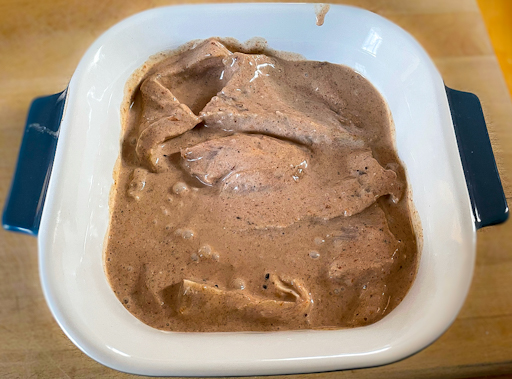
- In a large bowl, whisk together flour, salt and yeast. Add water and vinegar. Use rubber spatula to stir and press until dough comes together and no dry flour is visible, 2 to 3 minutes.
- Cover bowl with plastic wrap and let dough rise until bubbly and doubled in size, at least 8 hours or up to 18 hours.
- After rise time, spray an 18×12 inch sheet of parchment paper on counter with vegetable spray. Set aside.
- Sprinkle clean counter heavily with extra flour and coat your hands with extra flour. Transfer dough to counter and use your floured hands to knead until smooth about 1 minute. (see kneading instructions below)
- On clean counter use your cupped hands to drag dough in small circles to form smooth ball.
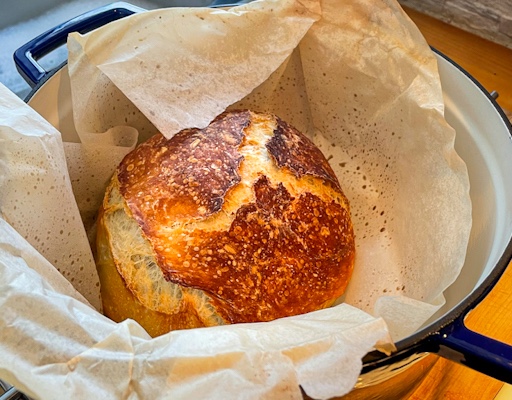
- Transfer ball to centre of greased parchment sheet. Use parchment to lower dough into Dutch oven (let extra parchment hang over pot edges) Cover pot with lid and let dough rise until doubled in size (1-1/2 to 2 hours).
- Adjust oven rack to middle position. When dough is ready, place covered pot in preheated oven at 425 and back for 30 minutes.
- Remove lid and back until golden brown, 20 to 25 minutes.
- Place on cooling rack to cool.
Nutrition Per Serving
- Calories 171
- Fat 0.45 g
- Sugar 0.1 g
- Carbohydrates 35.67 g
- Protein 4.92 g
- Fibre 1.8 g
Kneading (for those of us who don’t usually knead bread)
– Place heel of your hand in centre of dough ball & press down & away from you.
– Fold dough over.
– Rotate dough and repeat steps 1-2 until dough looks smooth about 1 minute.
– On clean counter, use your cupped hands to drag dough in small circles to form smooth ball.
Trick for yeast
Make sure your water is hot enough but not too hot. Yeast is a living organism. Also got to find out that one of my issues with yeast was that I stored it in the cupboard next to the stove. Guess what, big mistake. I was killing it with the heat. Lessons learned.
After I made this bread, I found out that its even lower in calorie than the bread machine one. The only down side is the waiting 18 hours. I have to admit that this one tastes better, looks better and I walked around like a proud peacock that I got a bread to rise. I sure had fun and made it my own, your turn.