Sourdough Discard Pancakes

Sourdough Discard Pancakes
  • Servings: 20 Pancakes
  • Difficulty: Easy
  • Print

When you go down the rabbit hole of sourdough, you end up with a lot of discard. Although it is totally worth it. I’ve been trying out a few and here is one of them. A lot more to come.

Ingredients

  • 100 grams of Sourdough starter discard
  • 200 grams of unbleached flour
  • 200 grams of milk
  • 50 grams of melted butter
  • 40 grams of sugar
  • 1 egg
  • 8 grams of baking powder
  • 3 grams of salt
  • 5 grams of vanilla extract

Directions

  • Add the sourdough starter, milk, egg, butter, vanilla and sugar to a bowl. Whisk well until just combined.
  • Now add the flour, baking powder and salt to the liquid ingredients and whisk until well combined and a batter forms.
  • This batter is ready to use right away.
  • Heat a large frying pan and add a little oil and butter to grease it.
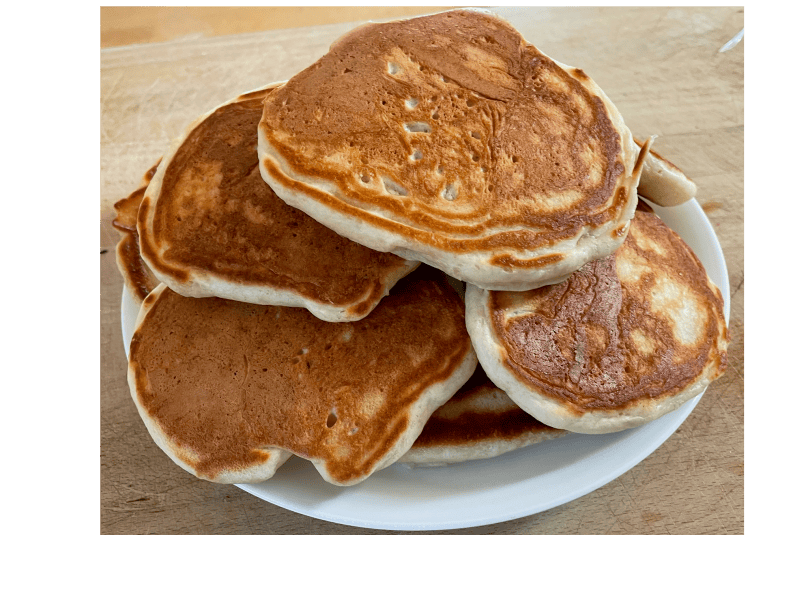
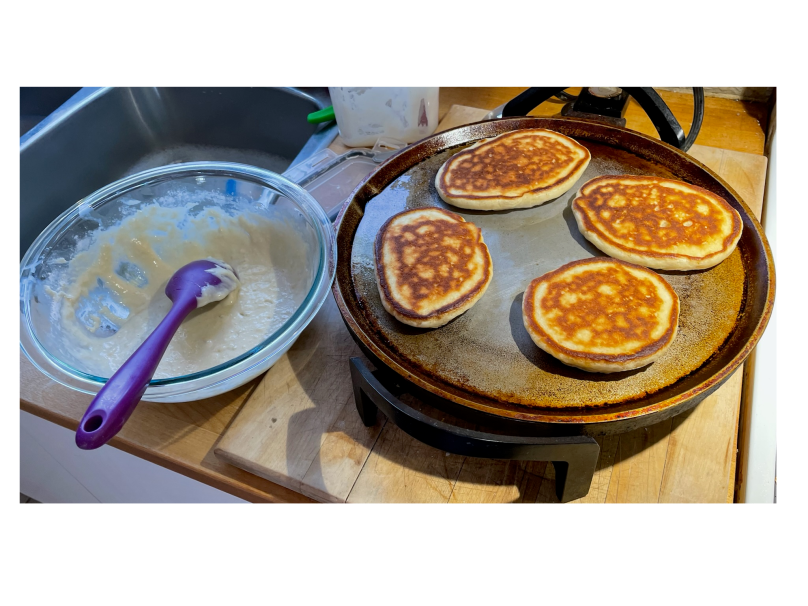
  • Cook the pancakes to your desired size. (A mini soup ladle is used for the portion)
  • Let all the bubbles form on the surface before you flip them over.
  • A lower heat is better as it lets the bubbles develop without burning the outside.

Nutrition Per Slice

  • Calories 72
  • Fat 3 g
  • Sugar 3 g
  • Carbohydrates 10 g
  • Protein 2 g
  • Fibre 1 g

You can ferment your batter overnight. To do so, add the Sourdough starter, sugar, milk and flour together in a bowl and mix until well combined. Leave it on the counter overnight (it is safe to leave the milk overnight, however if you’re worried it can go in the fridge for up to 24 hours). In the morning, add eggs, baking powder, melted butter, salt and vanilla extract and mix well until it forms a batter. The batter made this way will be quite stretchy because of the overnight fermentation of the flour. Cook as instructed.

If you want dairy free substitutions, you can use any type of plant milk instead of dairy. Works just as well. You can use vegan butter or just leave it altogether. Cook them in whatever oil you wish. Milk or buttermilk, you can use either.

You can add berries, chocolate chips so whatever you fancy. So have fun and make these pancakes your own.
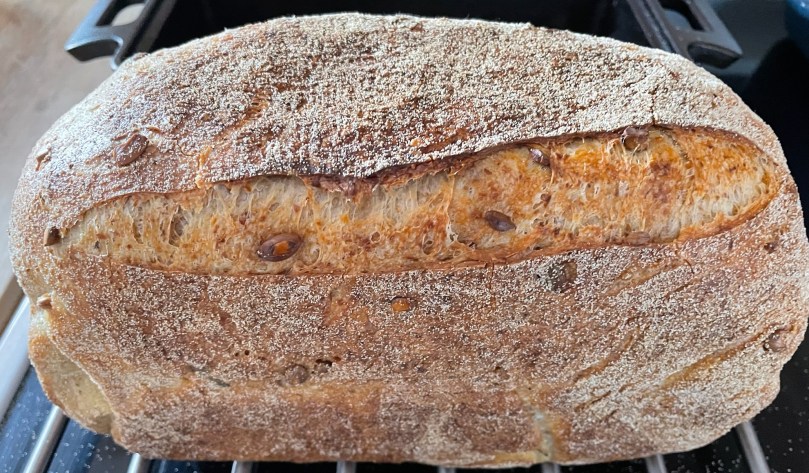
Multigrain Sourdough Bread

Multigrain Sourdough Bread

  • Servings: 32 Servings
  • Difficulty: Easy
  • Print

Before Christmas, a co-worker offered me some sourdough starter. I had tried in the past and failed miserably. This time I had specific instructions on how to keep this starter alive. I will post below my newest version of the sourdough bread but there are a lot of recipes to come with sourdough starter and discard. I will also do a feeder cheatsheet for the starter but in the meantime I can say I’ve been having a lot of fun. This recipe starts with a starter that is ready to be used.

The Prep time is initially 30 minutes, then we have the stretch series that takes 2 hours and then the proofing of 14 hour to the final proofing of 3-4 hours

Ingredients

  • 200 gram of whole wheat flour
  • 800 gram of unbleached flour
  • 20 gram of salt
  • 50 gram raw sunflower seeds
  • 50 gram of pumpkin seeds (if salted, omit the salt)
  • 85 gram of flax seeds
  • 200 gram of sourdough starter
  • 725 gram of room temperature water
  • Corn meal for dusting

Nutrition Per Slice

  • Calories 168
  • Fat 7 g
  • Sugar 0 g
  • Carbohydrates 26 g
  • Protein 7 g
  • Fibre

Directions

  • Mix all ingredients and form into a ball.
  • Put in covered container and let sit on the counter for 30 minutes.
  • Now we do the first stretch. Fold the dough in half and roll into a ball. Do this 3 times and let sit for another 30 minutes.
  • Repeat the above 3 more times.
  • Let sit on the counter for 12-14 hours covered.
  • Put a bit of corn meal on your surface and cut the dough into halves.
  • Shape into a loaf and put in banneton basket for proofing. Cover with damp towel.
  • Let sit for 3-4 hours on the counter. If you only want to bake one bread, you can put the second one in the fridge for up to 4 days, making sure to keep the covering towel damp.
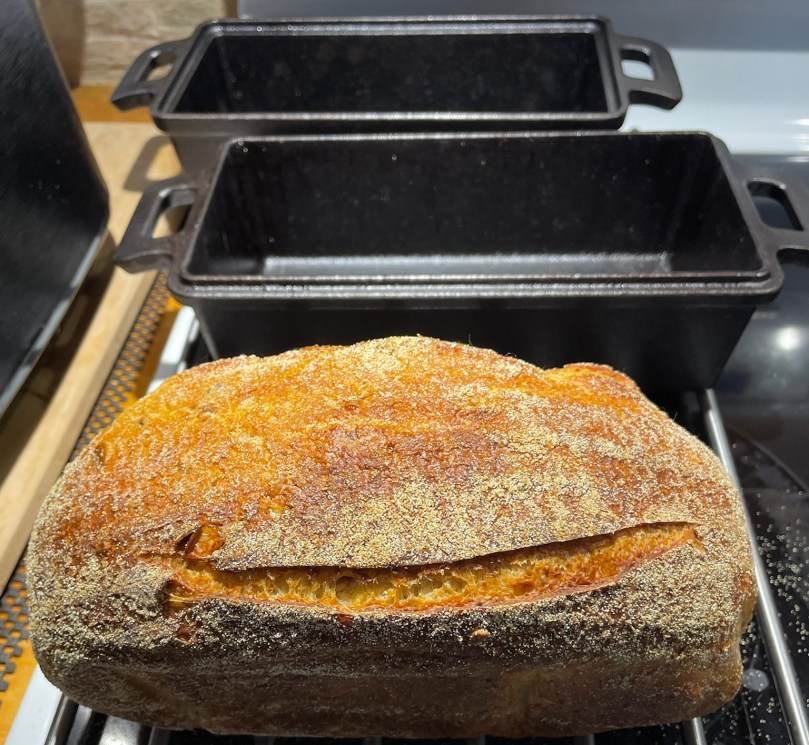
  • Preheat oven with cast iron bread loaf pan with cover at 460 degrees for 40 minutes. See picture of pans
  • Put loaf on parchment paper and place in hot cast iron bread loaf pan and cover.
  • Bake for 35 minutes.
  • Remove cover and bake for another 10 minutes.
  • Let cool for minimum 30 minutes before cutting.

As you see from the picture below, I’ve included one that shows my pans. They were inexpensive and I bought them on Amazon. Just make sure that they are treated before.

You will see in some future posts the original white sourdough bread but this is the one I have been making as it has more fiber. The advantage to sourdough is that it is diabetic friendly as it does not spike the sugar levels as does white bread.

Each loaf makes 15 to 16 slices. Now you don’t need as much to feel full as sourdough is denser to start with and with the whole wheat and nuts, you feel satisfied longer,

Those were my nuts of choice and of course you can vary them to your liking. I will keep experimenting and will adjust as I go and post those but if you find a new variation that you think I should try, please feel free to comment and let me know.

To keep bread nice, I use a beeswax bag. You can use a paper bag that you can fold closed.

In the meantime, there is just something special about the smell of fresh bread so have fun and make this bread your own.