Oatmeal Waffle
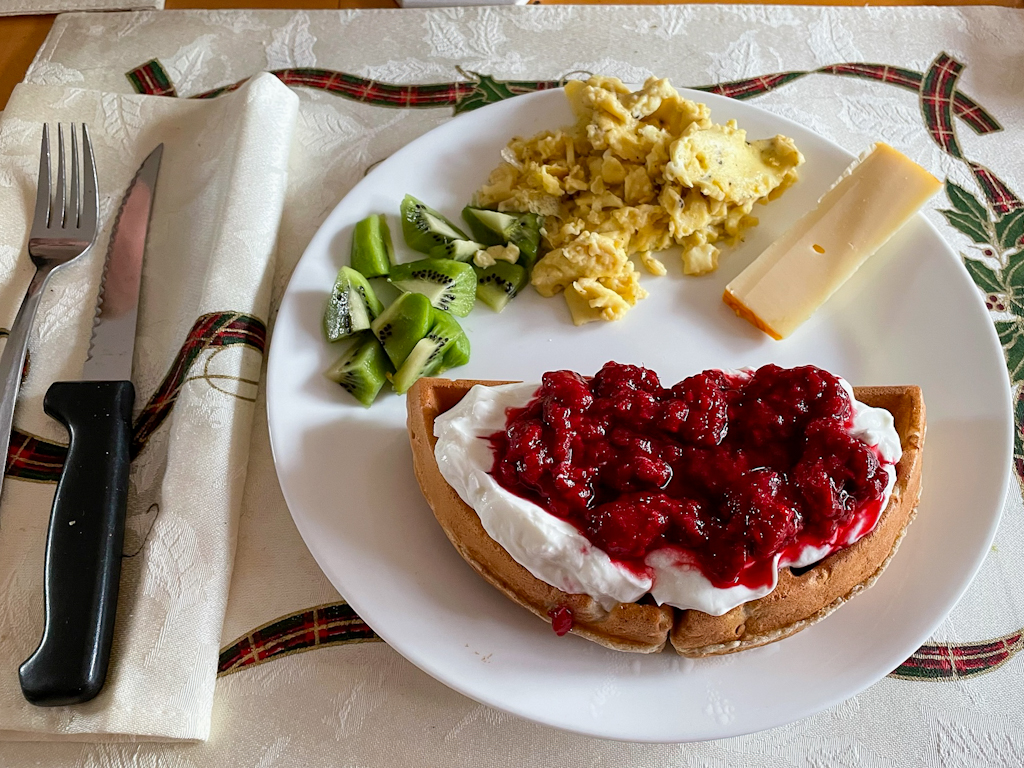
I got a new waffle maker for Christmas from two very sweet boys. I was suggested to lower the fat to use half applesauce and half oil in the batter. Turns outs that a half waffle is more than enough with some toppings and sides for a complete breakfast.
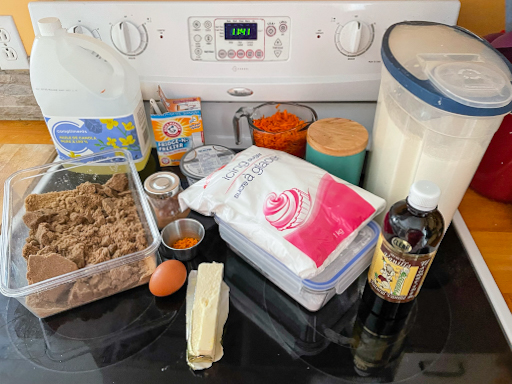
Ingredients
- 1 cup of all purpose flour (I used unbleached)
- 3/4 cup of whole wheat flour
- 1/2 cup of quick cooking oats
- 1 tbsp of packed brown sugar
- 1 tbsp of baking powder
- 1/4 tsp of salt
- 2 cups of nonfat milk (high protein) (I use lanctancia)
- 2 eggs
- 1 tbsp of apple sauce
- 1 tbsp of vegetable oil
Directions
- Mix flours, oats, brown sugar, baking powder, and salt in a large bowl.
- Whisk milk, eggs, apple sauce and oil in a medium bowl.
- Whisk milk mixture into dry ingredients just until dry ingredients are thoroughly moistened.
- Allow batter to rest 5 minutes.
- Preheat waffle maker.
- Pour 1 cup batter onto the center of the grid.
- Bake until waffle is brown.
Nutritional facts per serving
- Calories 192
- Fat 5.5 g
- Sugar 3.5 g
- Carbohydrates 26.6 g
- Protein 8.8 g
- Fibre 2.4 g
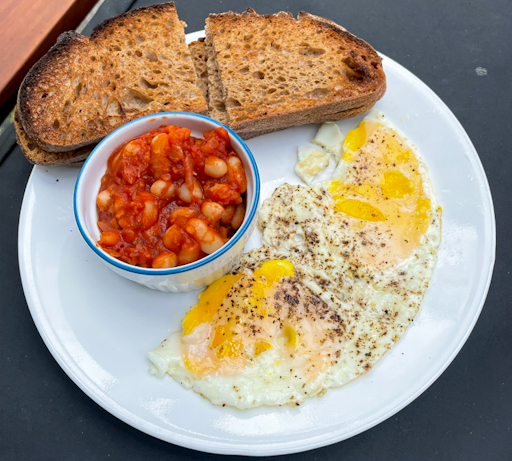
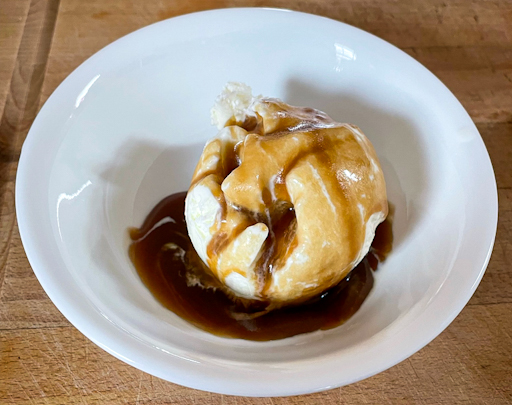
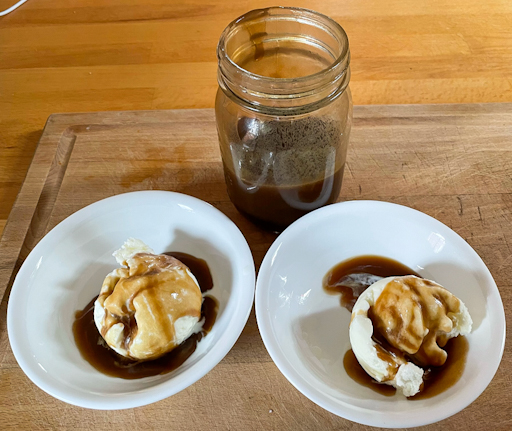
On my first run, I had a whole waffle. Oh boy, that was way too much. Especially since I serve mine with a side of scrambled eggs, cheese and the waffle is topped with greek nonfat plain yogourt and fruit. This is much better than any frozen store bought waffle. You can freeze left over waffles wrapped with parcheman paper between each, once cooled. Just let them thaw and put in the toaster or oven at 350 for 10 minutes. It leaves that nice crunchy outside and warm inside. You can top these anyway you like. This is where you have fun and make it your own.